Food Photography for Beginners: Tips and Tricks
Food photography is becoming increasingly popular thanks to the rise of social media and food blogs. With so many visually appealing food images circulating online, it’s no wonder that aspiring food photographers are eager to jump on the trend. However, mastering food photography takes more than just a love for food and a camera. Whether you’re a foodie looking to document your delicious creations or a professional looking to add an extra skill to your repertoire, this article will provide you with essential tips and tricks for food photography for beginners.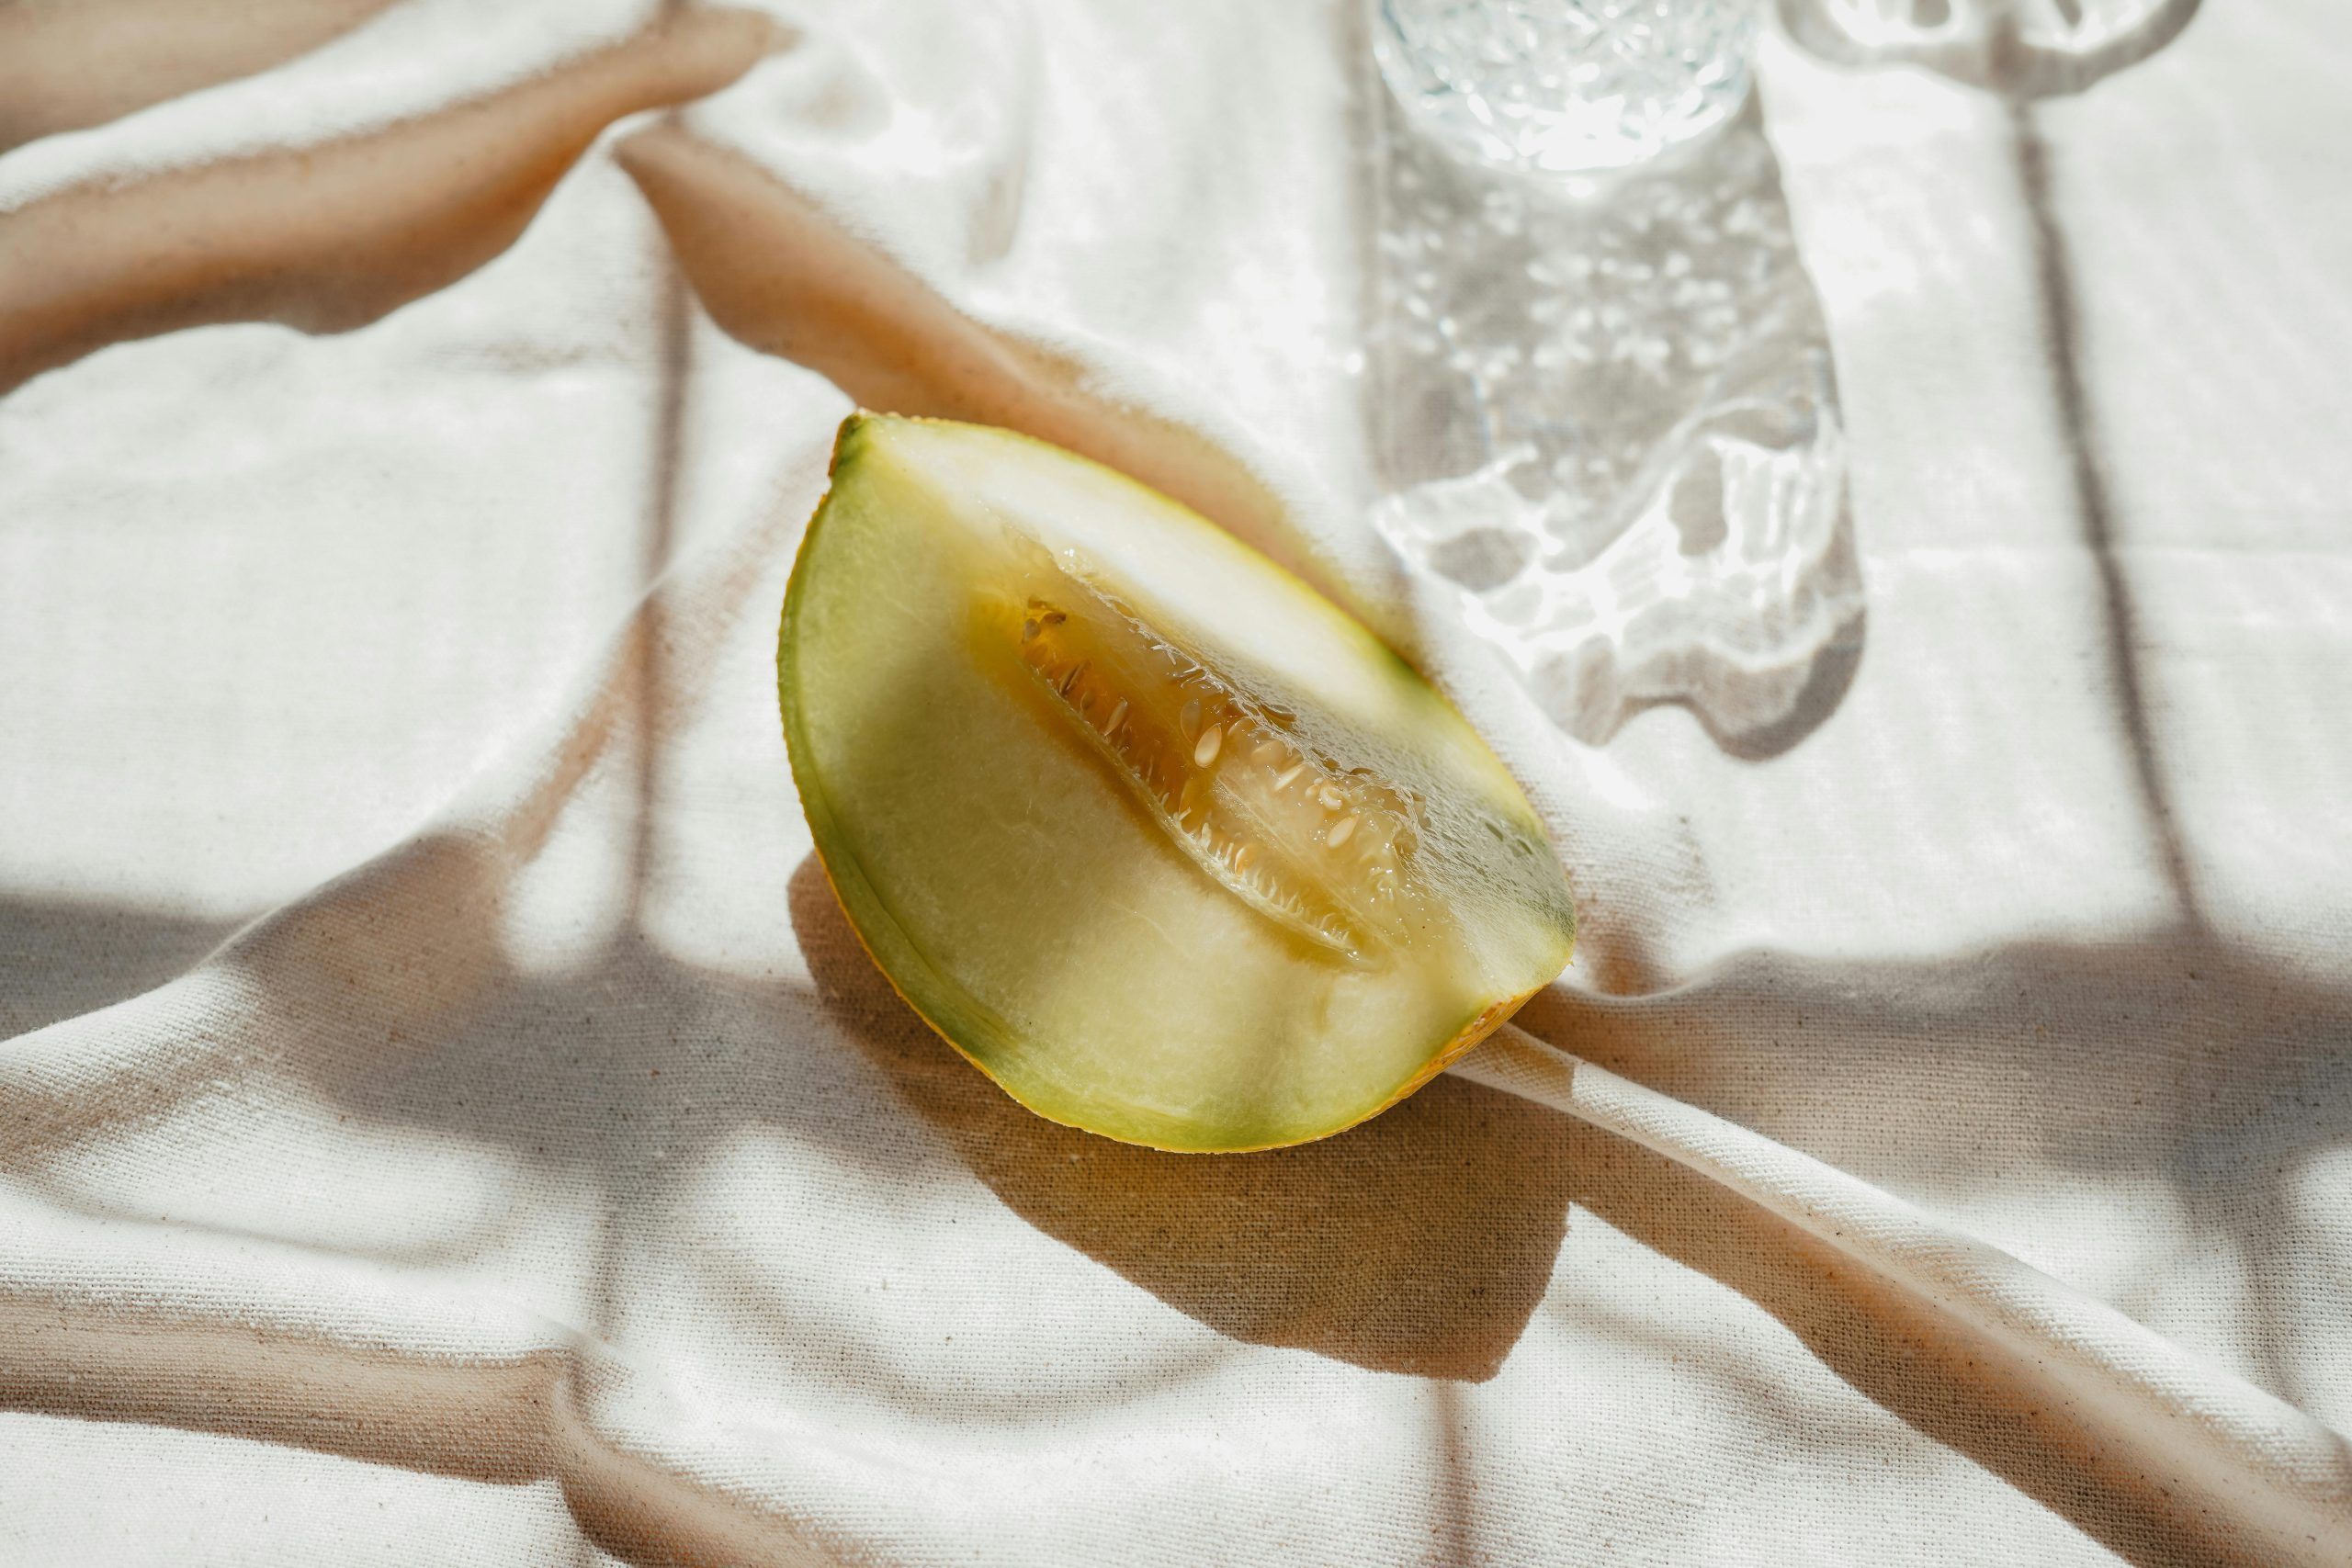
Understanding Your Camera
Before we dive into the specifics of food photography, it’s crucial to have a basic understanding of your camera. Knowing how to manipulate settings such as aperture, shutter speed, and ISO will allow you to control the look and feel of your photos. If you’re using a DSLR, it’s recommended to shoot in manual mode to have full control over these settings. However, if you’re using a smartphone, you can still achieve great results by learning how to adjust your phone’s camera settings.
Best Camera Settings for Food Photography
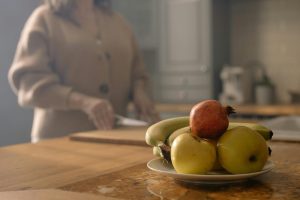
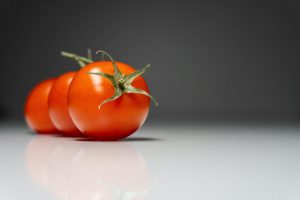
When it comes to food photography, a good rule of thumb is to use a low aperture (between f/1.8-f/2.8) to achieve a shallow depth of field and make your subject (i.e., the food) stand out. This technique is excellent for food close-ups and focusing on prominent details such as the texture of the ingredients. To avoid blurry images, make sure to use a tripod or rest your phone on a stable surface while taking the photo. Other settings such as shutter speed and ISO can be adjusted according to your lighting conditions.
Angle is Everything
The angle at which you photograph your food is crucial in food photography. Shooting straight down (also known as a flat lay) is a popular angle and works well for dishes with layers or intricate details. However, don’t be afraid to experiment with different angles, such as a 45-degree angle or even from the side. These angles can add depth and dimension to your photos, making them more visually appealing.
Lighting is Key
Natural lighting is your best friend in food photography. Ideally, you want to shoot during the day when there is plenty of natural light. Avoid using flash as it can create harsh shadows and make your food look unappetizing. If you’re shooting indoors, try setting up near a window or using a reflector to bounce light onto your subject. If you’re serious about food photography, investing in a small portable studio light can also be beneficial.
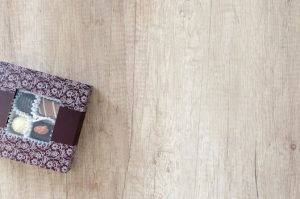
Props and Styling
Props and styling can take your food photography to the next level. When choosing props, it’s essential to choose items that complement your dish and enhance the overall composition of the photo. Try to keep the props simple and not too distracting from the main subject. When it comes to styling the food itself, take some time to arrange each element carefully. Use utensils, napkins, or garnishes to add interest and create a story behind your photo.
Editing and Post-Processing
Once you have taken your photos, it’s time to edit and enhance them. You don’t have to be a professional editor to achieve great results. Basic adjustments such as brightness, contrast, and saturation can make a significant difference in your photos. Lightroom and Photoshop are popular editing tools used by photographers, but if you’re on a budget, there are plenty of free editing apps available for smartphones, such as Snapseed and VSCO.
Final Thoughts
Food photography is a great way to capture and elevate the beauty of food. With a basic understanding of your camera, good lighting, and attention to detail, you can create mouth-watering food photos that will make your audience drool. Don’t be afraid to experiment and find your unique style, and most importantly, have fun with it. Happy shooting, and bon appétit!